
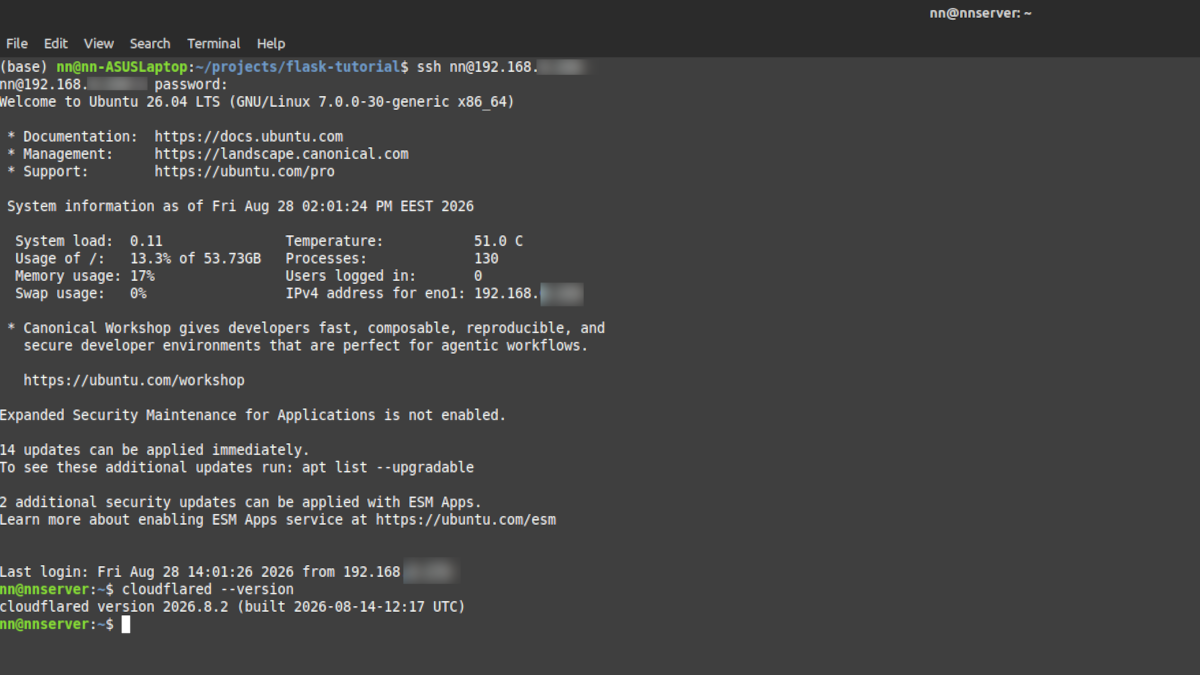

A small homelab project in networking and Linux administration.
The problem
Like a lot of home internet connections in Finland today, mine sits behind CGNAT (Carrier-Grade NAT) — my ISP doesn’t hand out a public IPv4 address to my router at all, which means the usual “forward a port and you’re done” approach for self-hosting simply isn’t available to me. No amount of port forwarding on my own router would help, because the public IP my traffic is exiting through is shared with hundreds of other customers.
I wanted to take an old laptop, turn it into a proper Linux server, and make something on it reachable from the public internet — without paying for a VPS, without a static IP, and without opening a single inbound port.
The setup
Hardware: a repurposed old laptop
OS: Ubuntu Server
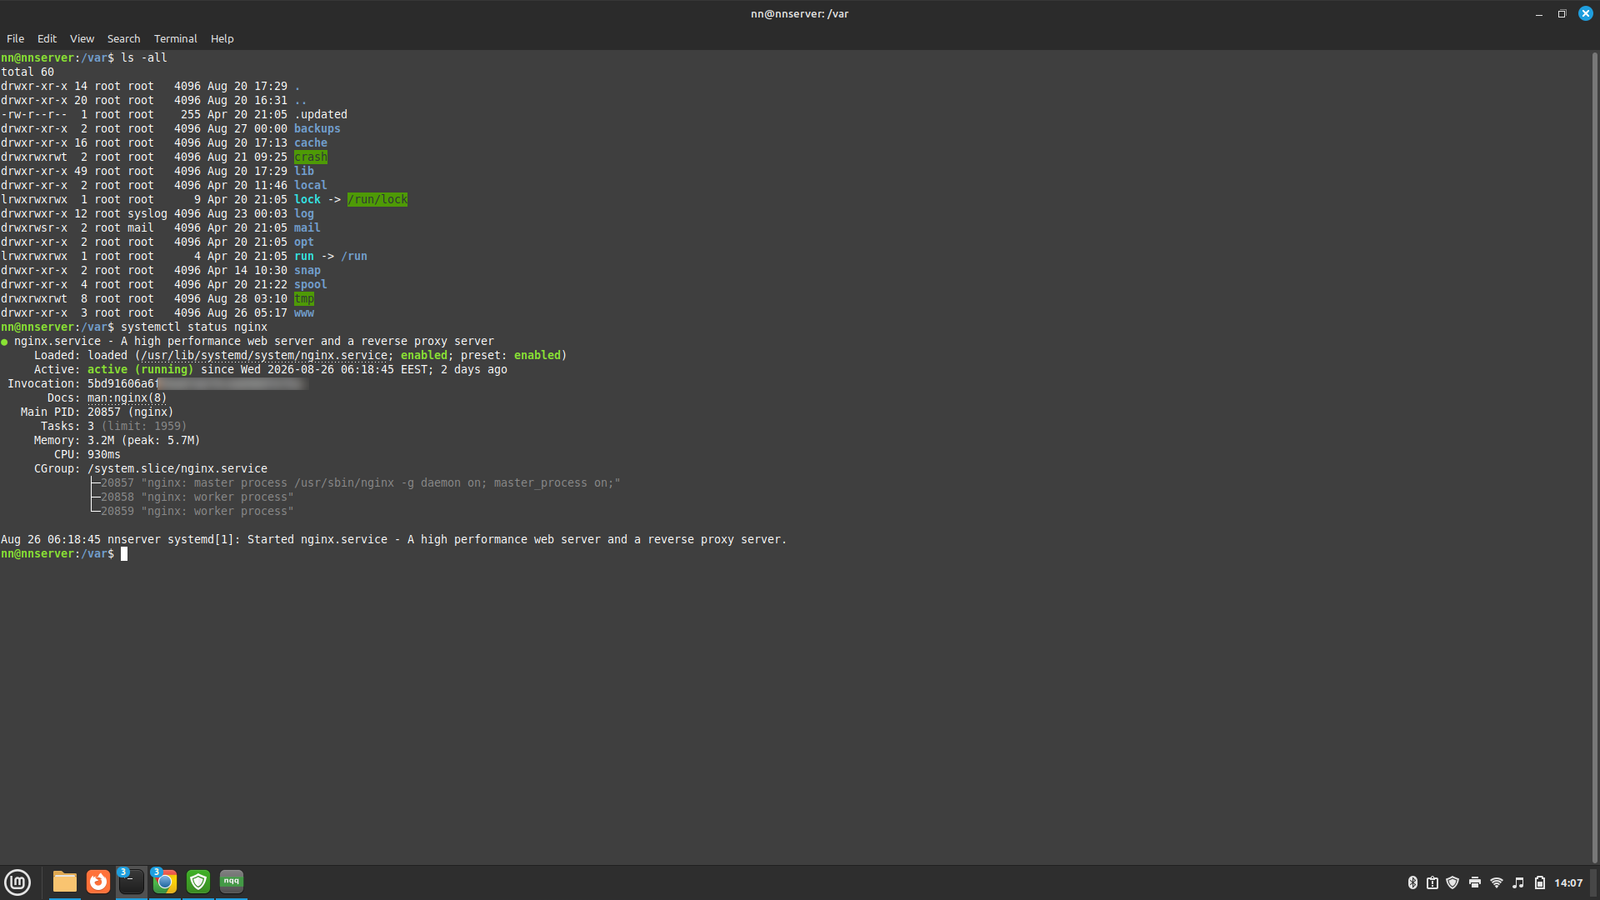
Web server: Nginx
Domain: a cheap domain purchased through Namecheap
DNS & tunneling: Cloudflare (free tier) + cloudflared
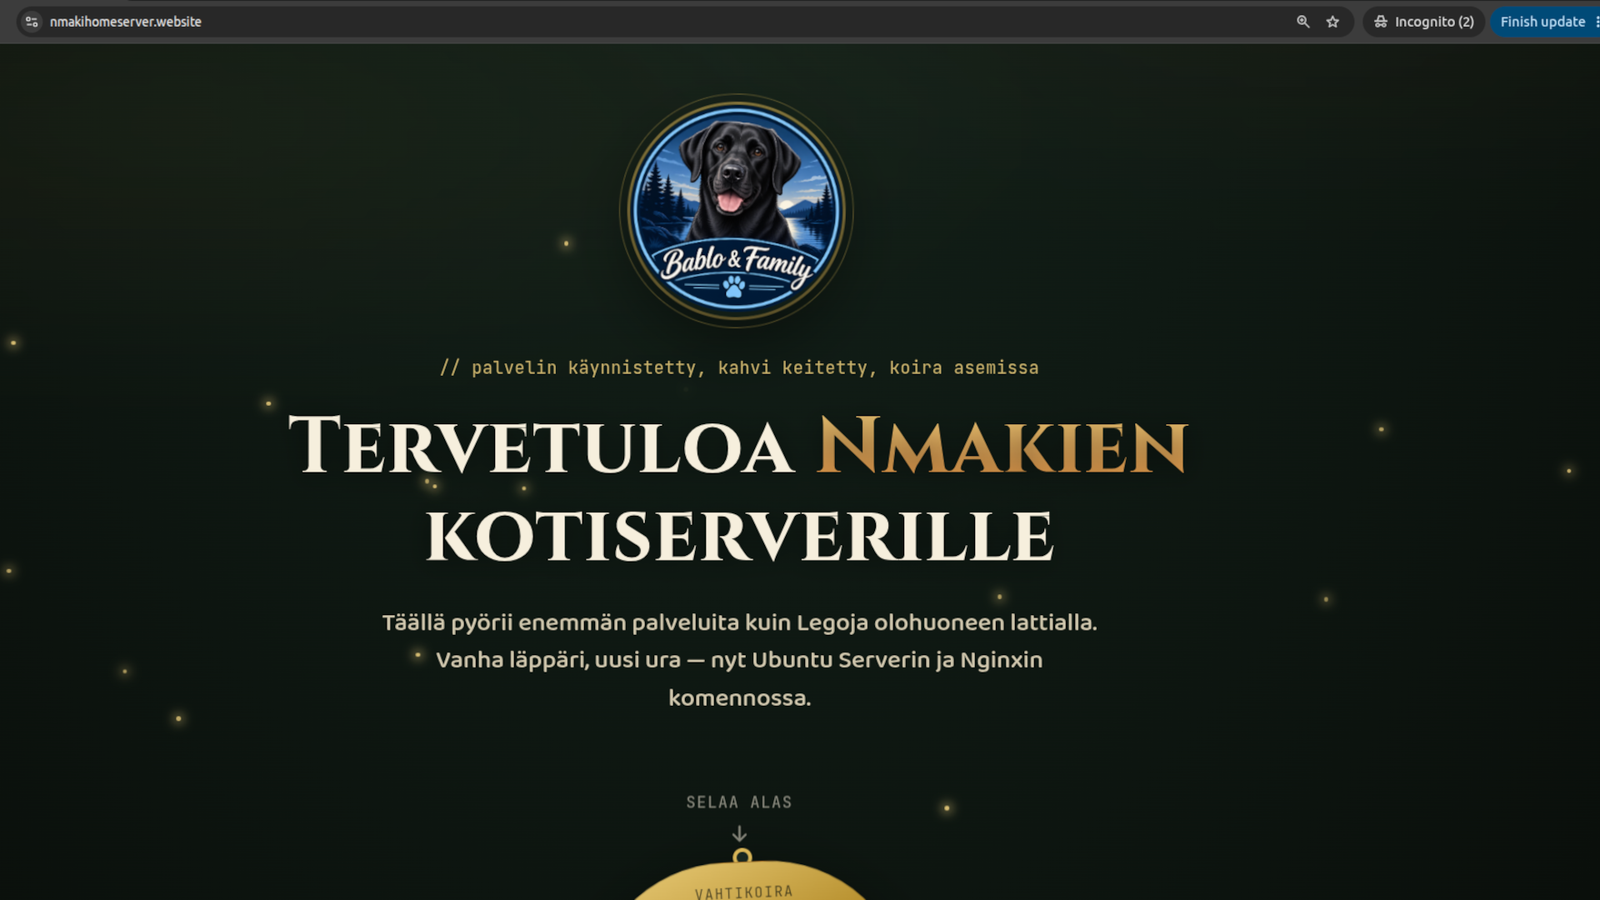
The first deliverable was a landing page for the server itself — partly to have something real to test the pipeline against, partly as a bit of fun for the family. I built it as a static site (HTML/CSS/vanilla JS) with a playful, warm design, a live clock, and a couple of small interactive touches, themed loosely around our family name and our dog.
Getting around CGNAT: Cloudflare Tunnel
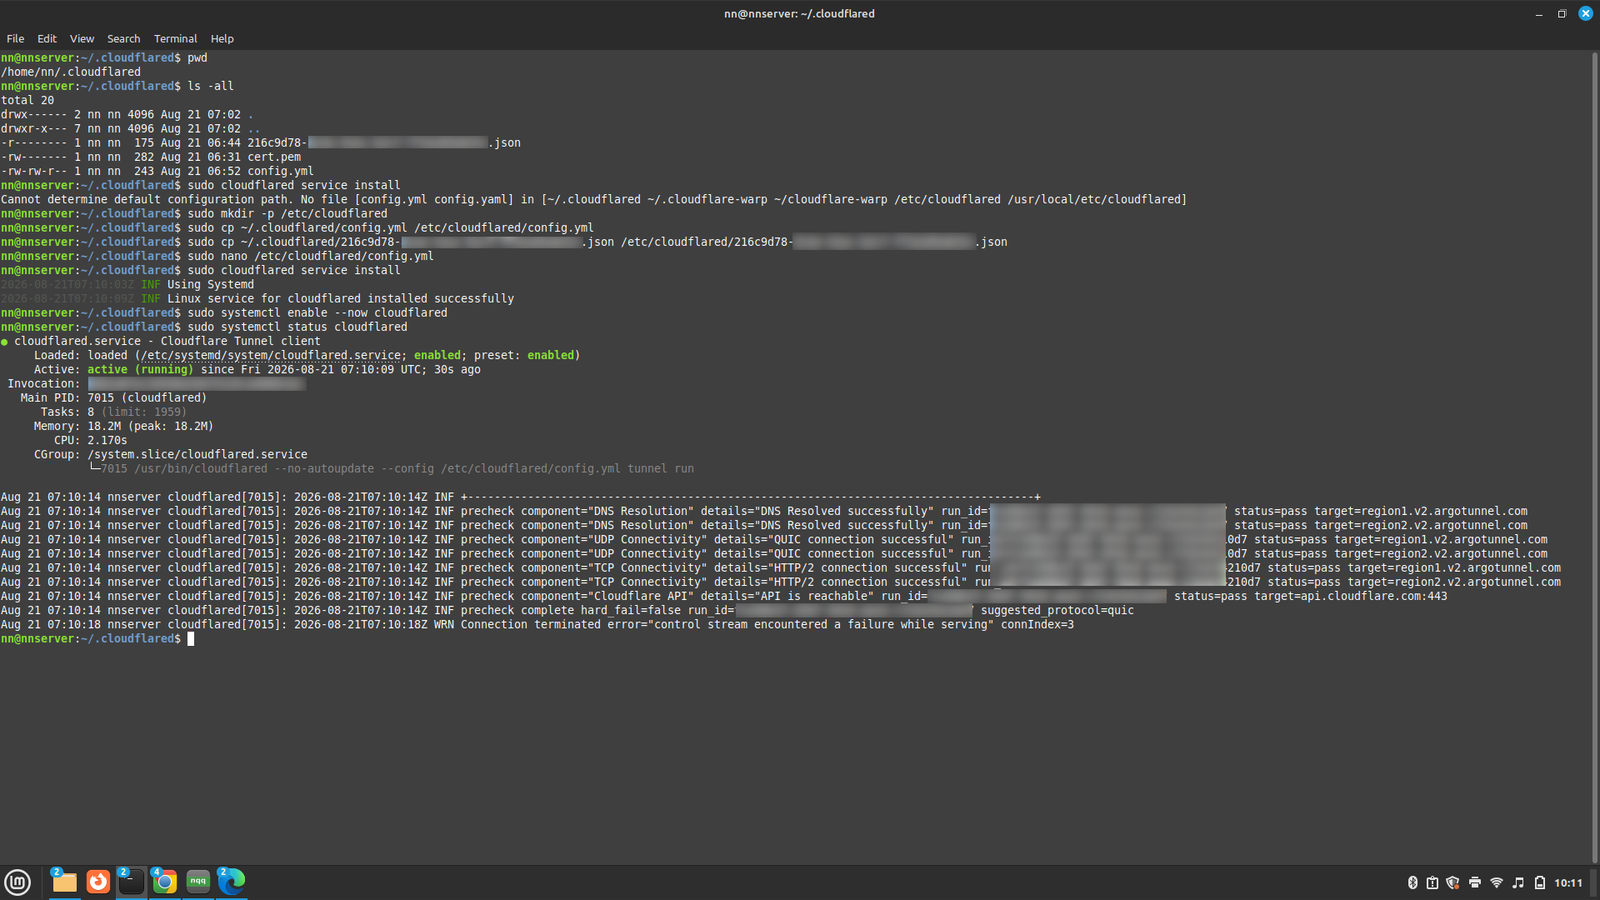
Instead of exposing a port on my router, I installed cloudflared on the server. It opens an outbound connection from my server to Cloudflare’s edge network — since it’s outbound, CGNAT is a complete non-issue. Cloudflare then proxies public requests for my domain through that tunnel back to Nginx running on localhost:80.
Stepps I have followed:
- Point the domain’s nameservers at Cloudflare.
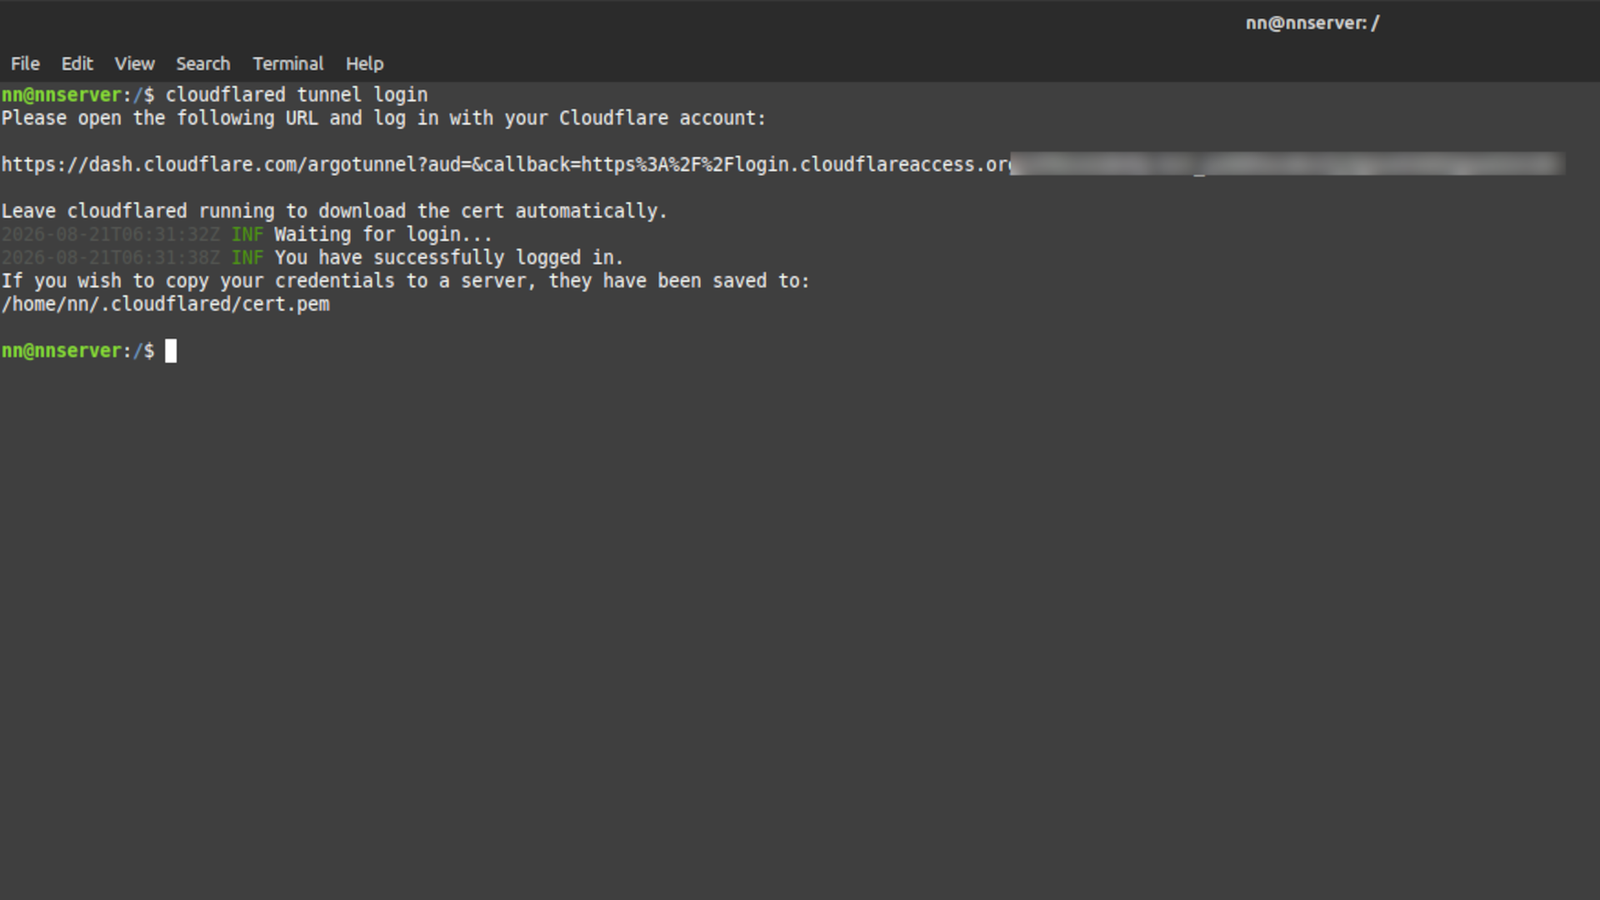
- Install cloudflared on the Ubuntu server and authenticate it against my Cloudflare account.
- Create a named tunnel (cloudflared tunnel create), which generates a tunnel ID and a credentials file.
- Write an ingress configuration mapping a hostname to http://localhost:80, with a catch-all 404 rule at the end.
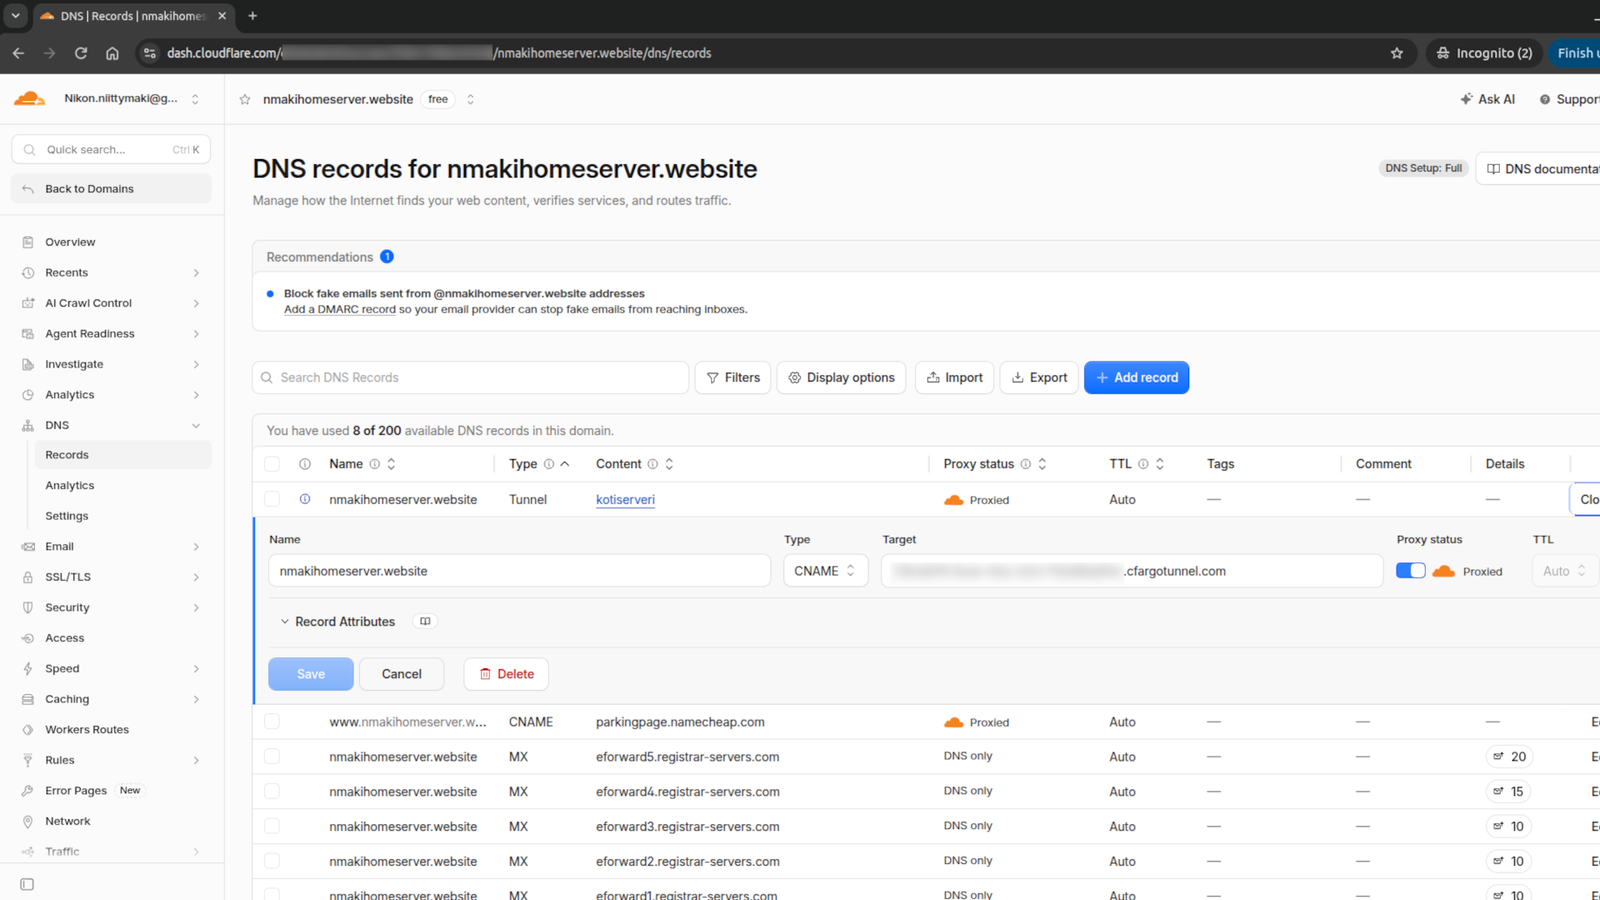
- Route DNS for the domain to the tunnel (cloudflared tunnel route dns) and install cloudflared as a systemd service so it survives reboots.
A couple of real-world snags worth mentioning, since this is where most of the actual learning happened.
Ubuntu version mismatch in the package repo. My server runs a very recent Ubuntu release, and Cloudflare’s apt repository didn’t yet have a matching codename — apt update failed with a 404. The fix was to point the repo at the noble (24.04 LTS) codename instead, since cloudflared itself is a self-contained Go binary with no real dependency on the underlying distro version.
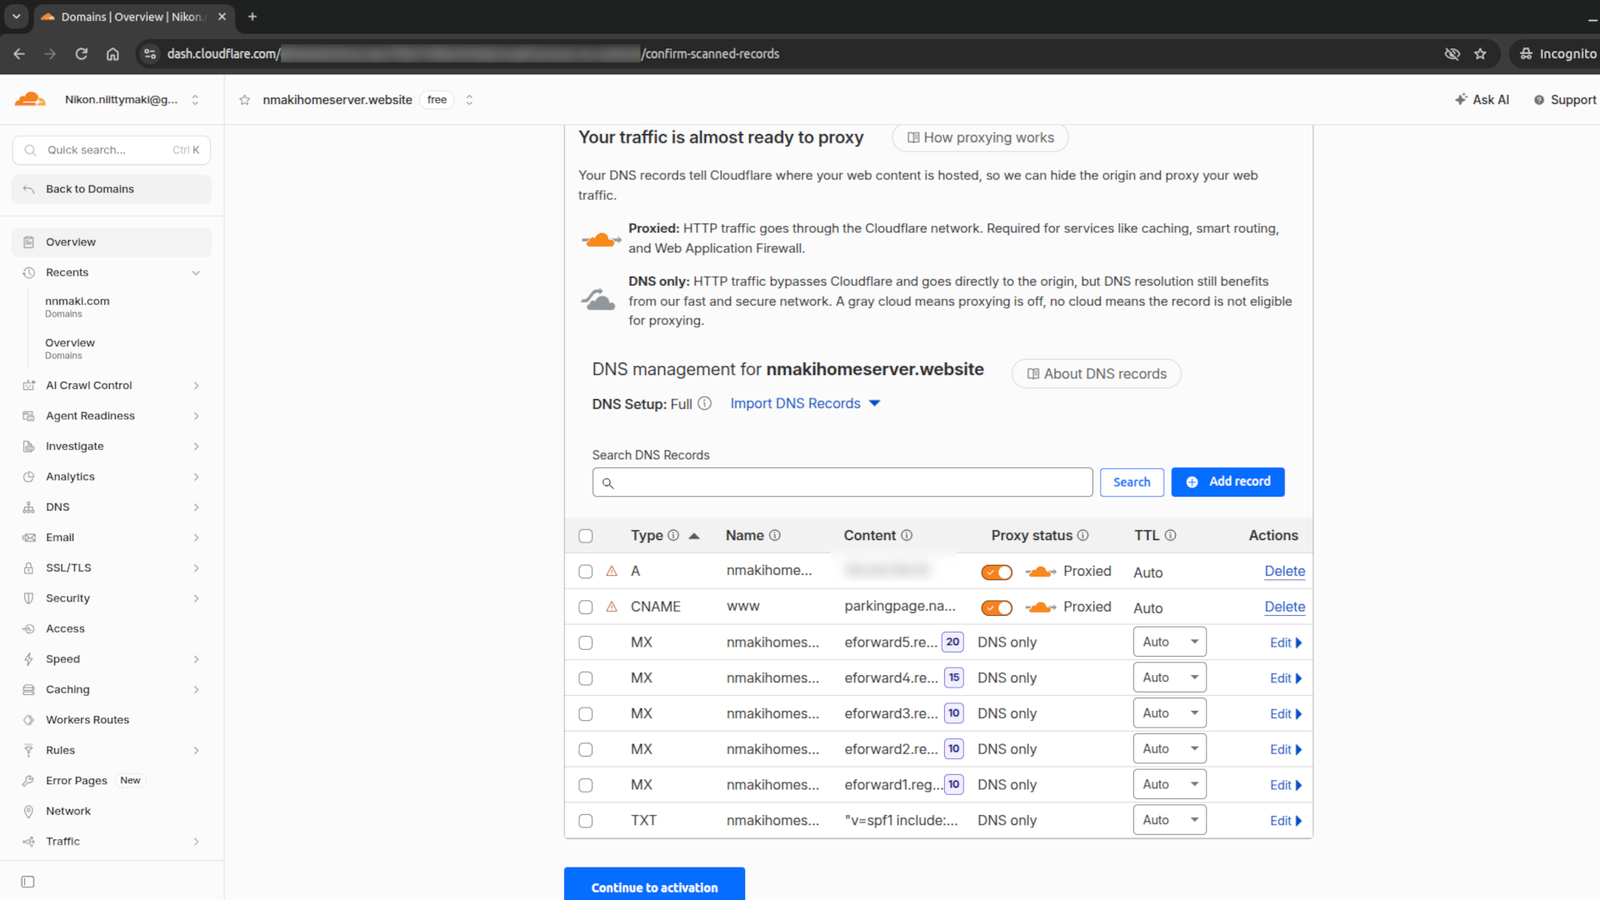
Conflicting DNS records. My domain registrar had already created a placeholder A record for a “parking page,” which blocked Cloudflare from creating the CNAME the tunnel needed. Deleting the stale record cleared the way.
sudo and home directories don’t mix well. Running cloudflared service install under sudo looks for its config under root’s home directory, not the user’s — so the config file I’d written to ~/.cloudflared/ was invisible to it. Moving the config and credentials file to /etc/cloudflared/ (and updating the credentials-file path inside the config accordingly) resolved it.
Locking it down
A publicly reachable web server is one thing, a publicly reachable SSH port is another. Rather than exposing SSH directly, I added a second ingress rule to the same tunnel, on a separate subdomain, pointing at ssh://localhost:22. On top of that, I’m layering Cloudflare Access so that reaching the SSH hostname requires an authenticated login (e.g. a one-time email code) before the tunnel will even proxy the TCP connection through. Combined with key-based SSH authentication on the server itself, this keeps remote administration usable without leaving a bare port open to the internet.
What this demonstrates? Small project, but it touches a handful of things that come up constantly in real IT/infrastructure work:
- Working comfortably in a Linux server environment via SSH, systemd, and apt
- Understanding NAT, CGNAT, and why traditional port-forwarding breaks down
- DNS management and troubleshooting (nameservers, record types, conflicting entries)
- Reverse-proxy concepts and outbound-only tunneling as an alternative to inbound exposure
- A basic zero-trust mindset: don’t expose services directly — broker access through an identity-aware layer instead
- Debugging by reading error messages carefully and reasoning about why a tool behaves the way it does (e.g. sudo and $HOME), rather than guessing
What’s next?
Now that the tunnel is stable, the plan is to add more services behind it — a dashboard, some self-hosted tools, and eventually a proper reverse-proxy setup with multiple subdomains, each routed through the same tunnel with its own access policy.